Table of Contents
Introduction
Are looking for the solution for blocked extensions on a school Chromebook. Then you are on the correct help page.
In the modern classroom, Chromebooks have become an essential tool for students. However, school administrations often block certain extensions to maintain a productive and secure environment. But what if you need a specific extension for your studies or personal use? In this comprehensive guide, we will explore the world of blocked extensions on a school Chromebook, providing solutions, insights, and answers to frequently asked questions. And with the latest step-by-step guide on how to remove blocked extensions on a school Chromebook in 2023.
Understanding School Chromebook Restrictions
Schools often block extensions on student Chromebooks to ensure that students stay on task and do not access inappropriate content during class. Some common types of restrictions include:
- Whitelisting certain extensions: Schools may only allow a certain set of approved extensions to be used on student Chromebooks.
- Blocking specific extensions: Schools may block certain extensions that are deemed inappropriate or not related to schoolwork.
- Restricting access to certain websites: Schools may block access to certain websites that are not relevant to schoolwork.
Example Education Chrome extension that is used in this article: Turn Off the Lights Chrome extension
That is to explain the way to resolve the Blocked extensions on a school Chromebook.
Step 1: Understand the Restrictions
Before attempting to remove any blocked extensions, it is important to understand why they were blocked in the first place. Most schools have strict security policies in place to protect the network and the devices that connect to it. This means that certain extensions or apps that are deemed to be a security risk or that could be used for inappropriate purposes are blocked from being installed.
You can find overview of your installed enterprise extension on this: chrome://policy
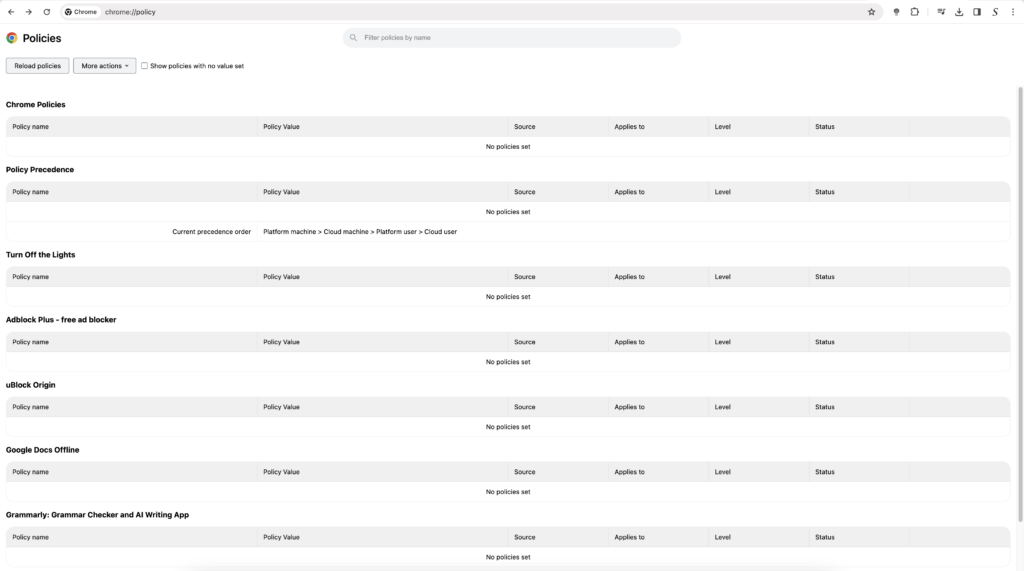

So it is possible that the Turn Off the Lights Chrome extension is installed on your Chromebook computer.
Step 2: Check for a “Developer Mode”
One way to bypass the restrictions placed on your school Chromebook is to enable “Developer Mode.” This will give you access to settings and features that are normally hidden, and it will allow you to install extensions and apps that are not approved by the school.
To enable Developer Mode, you will need to press the Esc + Refresh keys and then hold down the Power button. Once the device has rebooted, you will be prompted to press the “CTRL + D” button to turn on Developer Mode.
Step 3: Install the Extension
Once you have enabled Developer Mode, you should be able to install any extension or app that you wish. However, it is important to note that doing so may violate your school’s policies and could result in disciplinary action.
To install an extension, simply go to the Chrome Web Store and search for the extension that you want to install. Once you have found the extension that you want, click on the “Add to Chrome” button and wait for the extension to install.
Step 4: Disable Developer Mode
After you have installed the extension, you will want to disable Developer Mode to avoid any issues with the school. To do this, simply reboot your Chromebook and press the “CTRL + D” button to turn off Developer Mode.
Remove Blocked Extensions on a School Chromebook: A Step-by-Step Guide
Here are the brief steps for removing the blocked extensions on a school Chromebook:
- Open the Chromebook settings.
- Under “Device” click “Manage approved apps“.
- You will see a list of approved apps and extensions. To remove an approved app or extension, click the trash can icon next to it.
- A message will appear asking you to confirm that you want to remove the selected app or extension. Click “Remove“.
Now the blocked extensions on a school Chromebook is removed from your device.
Conclusion
Removing blocked extensions on a school Chromebook in 2023 can be a bit of a challenge, but with the right steps, it is possible. By understanding the restrictions placed on your device, checking for a “Developer Mode,” installing the extension, and disabling Developer Mode, you can bypass these restrictions and get back to using your Chromebook the way you want to. However, it is important to remember that doing so may violate your school’s policies and could result in disciplinary action, so be sure to proceed with caution.
FAQ blocked extensions on a school Chromebook
How can I request the unblocking of a specific extension?
Reach out to your school’s IT support team with a valid reason for needing the extension unblocked. They may grant your request after review.
Can I use a VPN to access blocked extensions?
Yes, a VPN can help you bypass restrictions, but be cautious and use it responsibly.
Are there any risks associated with unblocking extensions?
Yes, misusing this freedom can lead to consequences, so always use it for legitimate purposes.
What if I need an extension for educational purposes?
If the extension is essential for your studies, discuss it with your school’s IT department. They may consider unblocking it.
How do I access Developer Mode on my Chromebook?
You can access Developer Mode in the Chromebook settings. Consult your school’s IT support if you need assistance.
Are there any Chromebooks specifically designed for educational use?
Yes, some Chromebooks are tailored for education, featuring built-in security and management features.
Did you find technical, factual or grammatical errors on the Turn Off the Lights website?
You can report a technical problem using the Turn Off the Lights online technical error feedback form.